 |
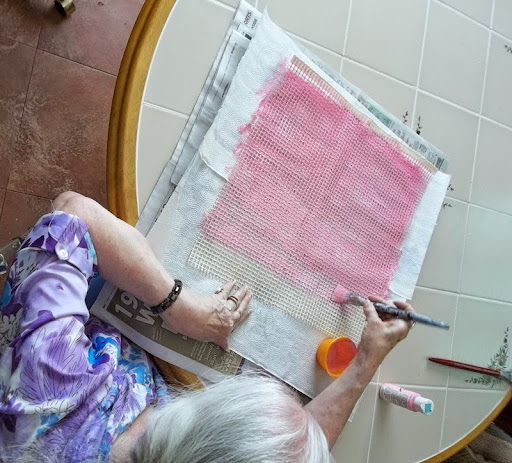
| Annake toning a canvas |
Some time ago (my June 15, 2014 post), I discussed how to paint over designs on commercial needlepoint canvases so that they can be used for new designs. I also described how to paint an entire canvas in a neutral background tone to prepare it for a bargello pattern. At that time, I promised to write about the third –- and most important –- reason for painting your own canvases; that is, to express yourself in a way that is both practical and satisfying. Painting your own canvas makes it into a unique item –- something that would never have existed if you had not created it. Wouldn't that make you feel good about yourself?
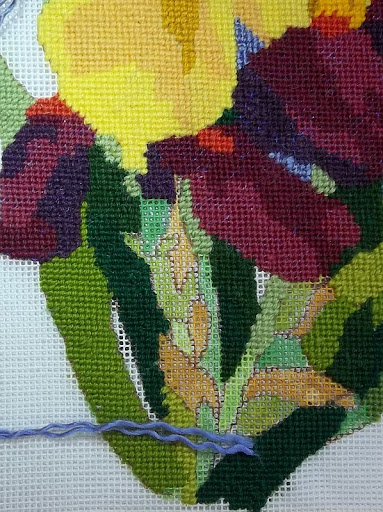
If you don't feel comfortable using paint and a brush to put your design on canvas, you can do it with permanent markers (see the April 29, 2015 post for suggestions for using markers). Be sure the markers are permanent ones. Rub off any excess ink so that it does not stain your yarn or floss. You can make attractive, colorful canvases with markers, as you can see from this work in progress, but they will lack the subtle gradations in color that you can achieve with paints. You can compensate for this by blending colors or by using several closely-related tones of each color. For example, I have left areas of the tiger's face blank to represent white, but I stitched parts of the muzzle in a dark cream color and the chin in an off-white. I kept the bright white for his teeth. In truth, the tiger's teeth would probably be yellowed, but this is art –- not scientific illustration.
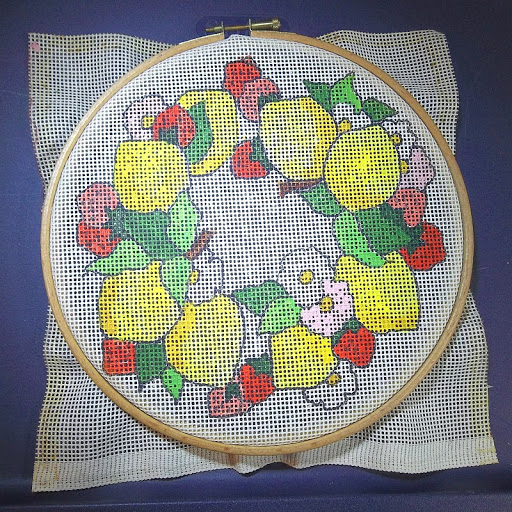
Aside from showcasing your creativity, there are a number of practical reasons for hand-painting canvases. Suppose, for example, that the finished canvas will eventually be placed in a specific mat or frame that is not a standard size or shape. The wreath of lemons and strawberries seen here is a good example of this. After the stitching is completed, this canvas will be trimmed of any excess so that it can be framed in its own hoop. If you stitch a piece like this from a chart and are even slightly inaccurate, the resulting design will appear irregular and/or distorted. This will not happen if the design is painted on the canvas before it is centered in the hoop. You can then stitch with confidence, using the hoop for support.
 |
| Canvas, colored for matching yarn |
I prefer to use white mono canvas for painting. If you plan to use brown penelope canvas, you may want to tone it to white, off-white, ecru or light beige. Let it dry completely and remove any paint that is clogging mesh squares before you begin painting your design. Do not use oil paints or watercolors. You can use either art acrylic paints or craft acrylic paints. Whether you are squeezing paint from tubes, pouring it from bottles, or scooping it from jars, you will need to dilute it with clean, clear water. That means you will need containers to mix the paint and water --- something like my old eight-cup muffin tin. You may also want a china plate to use for a palette. You will need a wide brush for large areas and at least a couple of brushes for smaller areas and finer details. Try to find ones of the smaller brushes that hold a fine point when they are wet.
Mark the outside dimensions of your completed design on the canvas lightly with a pencil, leaving a generous margin for taping the canvas and framing the finished picture. Start with thin washes (coats of paint). I put in colors one at a time, allowing them to dry, unless I want a blended effect. You can darken the colors by adding more washes on top of the first one. (You can also paint out mistakes.) Where colors overlap, you will create additional tones. Unless you are doing a geometric or “hard-edged” design, you will want to take advantage of these intermediate colors by stitching them with separate colors or by blending strands of yarn or floss. If I'm doing a central design that will need a solid-color background, I either leave the background unpainted or paint it first with the background color and let it dry completely before painting the design.
Once my painting satisfies me and is completely dry, I go over it carefully, looking for squares of canvas that are clogged with paint. I clear these with the point of a pin or needle. I then press the canvas lightly, between two layers of paper towel, with a warm iron. Then I tape the edges of the canvas with masking tape. I choose my colors of yarn or floss and I'm ready to start stitching.
Make something that is uniquely yours. Congratulations,


No comments :
Post a Comment
Post a New Comment Below -- We Love Feedback !!!